3D Printed Electric Longboard
I had a problem; how do I enclose all the electronics? This is an important question to pay a LOT of attention to because water could easily cause massive casualties, specifically to my bank account. Water getting into the electronics is my primary fear, but keeping grime out of the electronics will make servicing a much better experience. So how do I accomplish this? One solution is that I could use plastic bins, cut them to size, then epoxy them to the bottom of the board. This felt too tacky for my taste though, and looking at other boards inspired me to go the injection mold style route. I knew I could 3D print things that mimicked that look, so I figured why not!
At Least 100 Hours of 3D Printing Later…
I soon knew why I should have gone with something less perfectionistic. This project would have taken a lot less time if I hadn’t printed all of the containers for the electronics. I love my printer, probably even more than I did a few months ago, but I don’t think I’ve ever gone through so much filament. I nearly went through one kilogram of PLA in a week. The buzzing of the stepper motors faded into the background, just another noise to tune out.
However, I quickly figured out that “just another noise” only applied when doing school work and did NOT apply when I was trying to sleep. A pillow over my head nearly fixed it but it was not enough. This only had to happen once (with a 12 hour print!) before I started a printing schedule to make sure prints never overlapped with my precious sleeping time. This primarily involved doing long prints as soon as I woke up and fitting in shorter prints later in the day.
This seemed to work very well, but it presented a large limitation on how long the prints could feasibly be. (I’m only willing to trade SOME of my sanity for the projects I work on!) This caused me to impulse buy a few printer modifications I plan to make later this year or possibly early next year. They consist of a new controller, hotend/extruder and power supply. Once implemented, the only noise should be from the fans that are much more quiet than the stepper motors (this is due to the high quality controller I bought which supports StealthChop).
Picture Time!
Here are most of the prints I had to do.
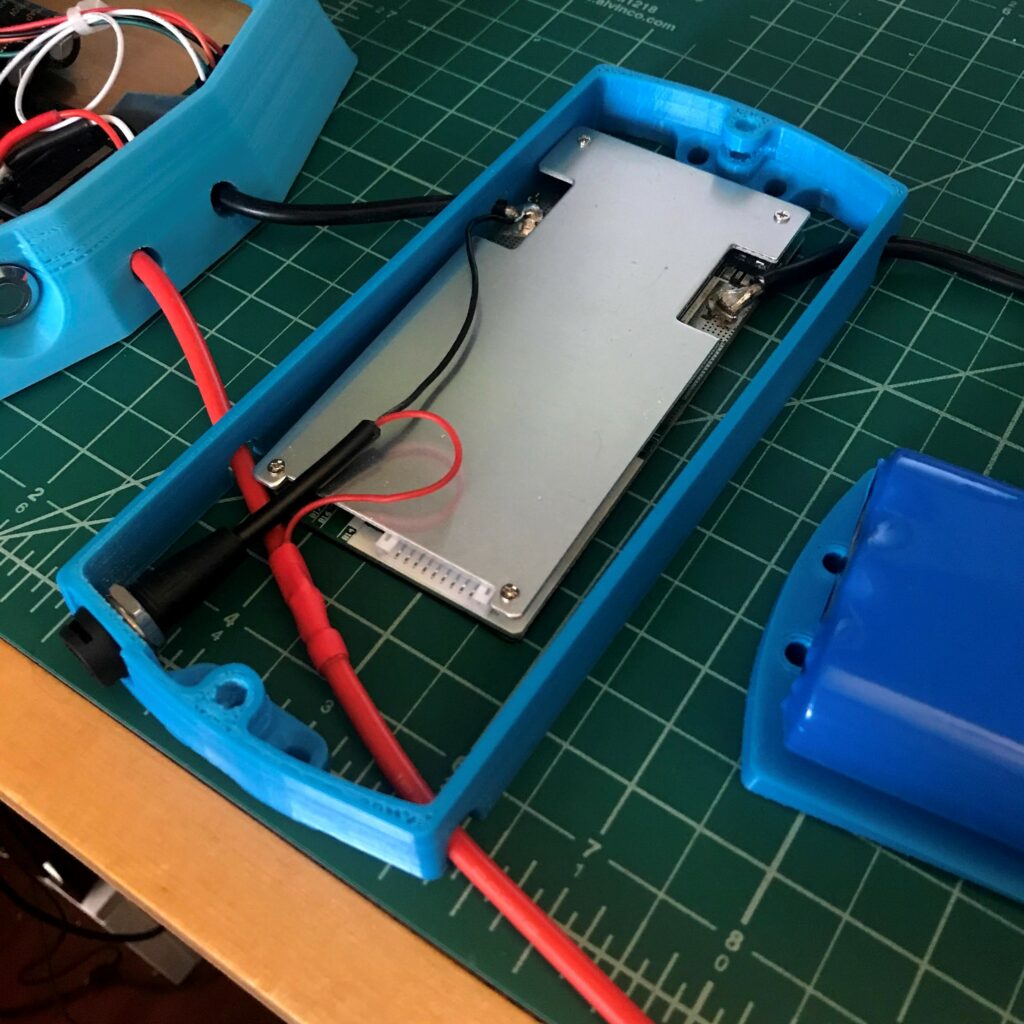
I did these all in two parts because the bottoms had to match the curvature of the board. Two prints made that easier for my lower quality printer. Here is a closeup on the edge of the BMS case sides.
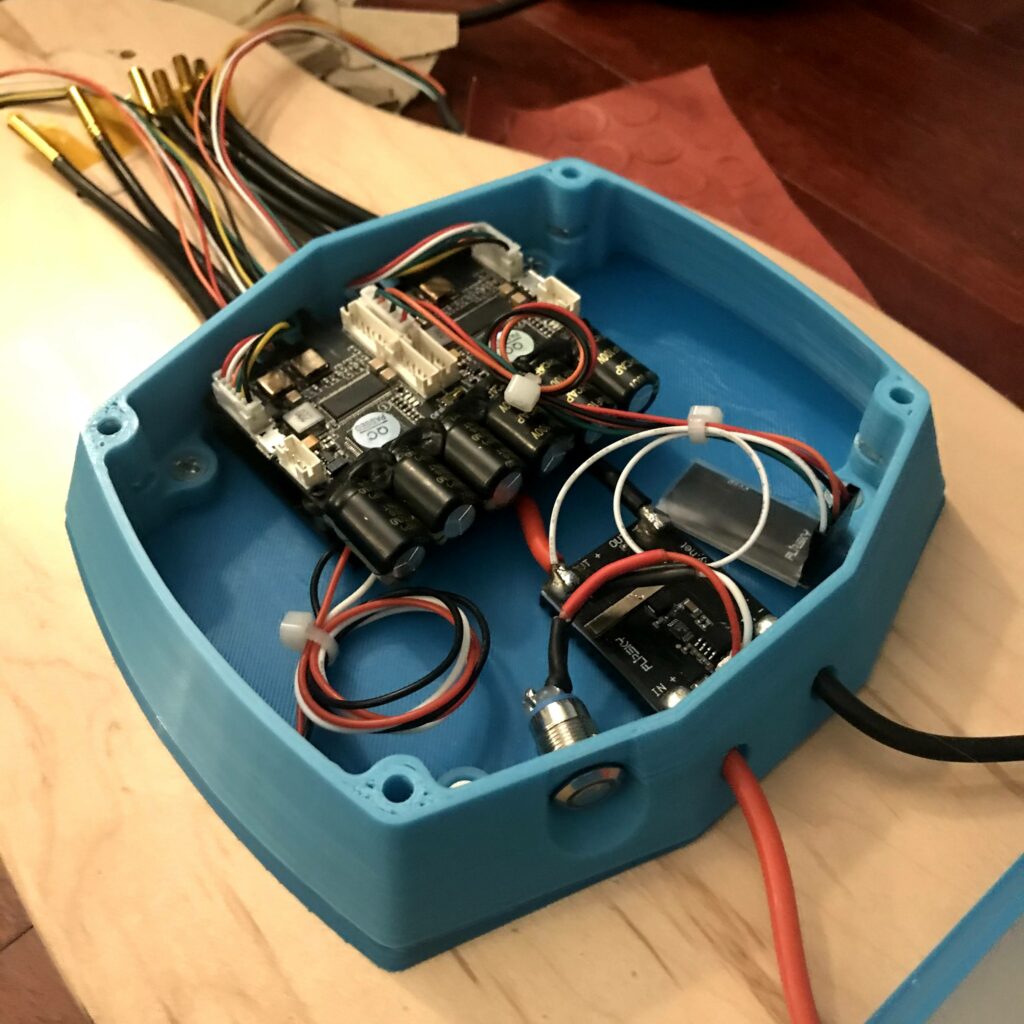
This is the electronics box, one of the more fun parts to design.
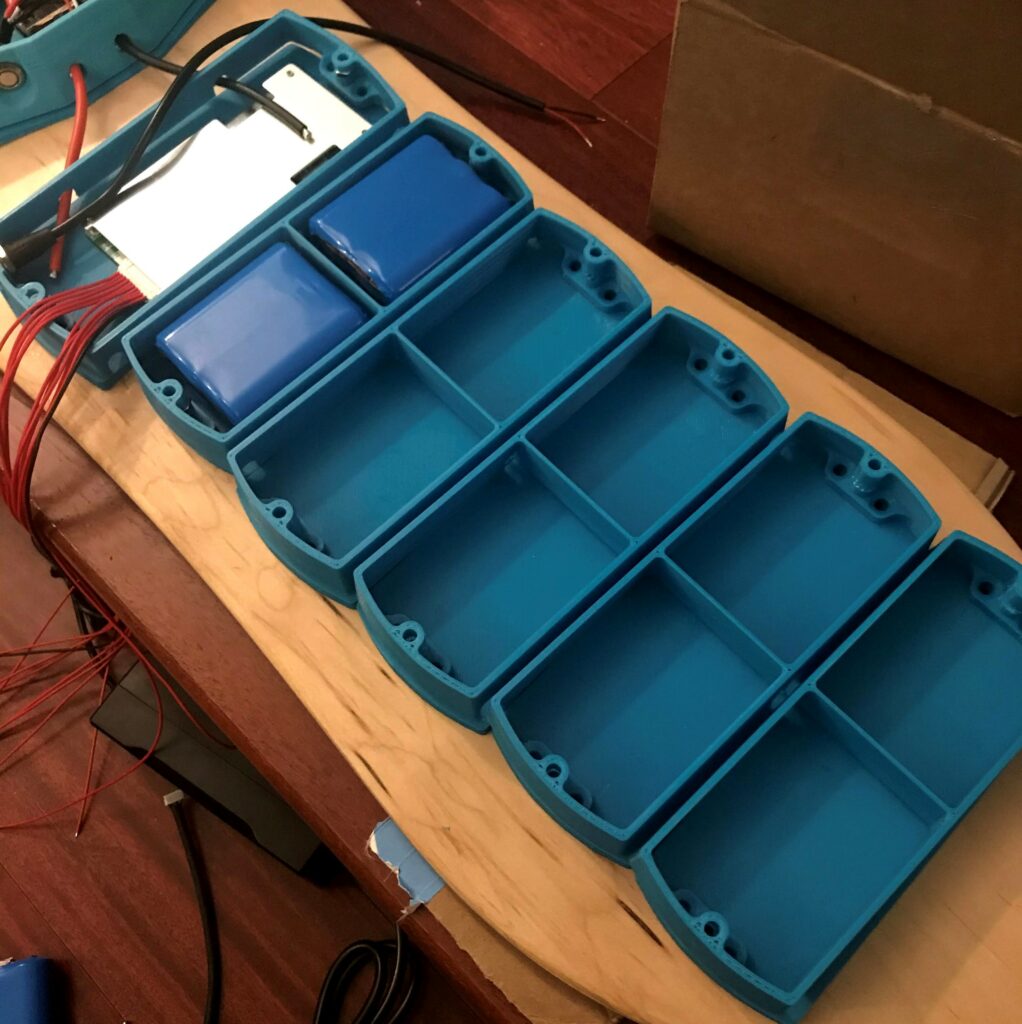
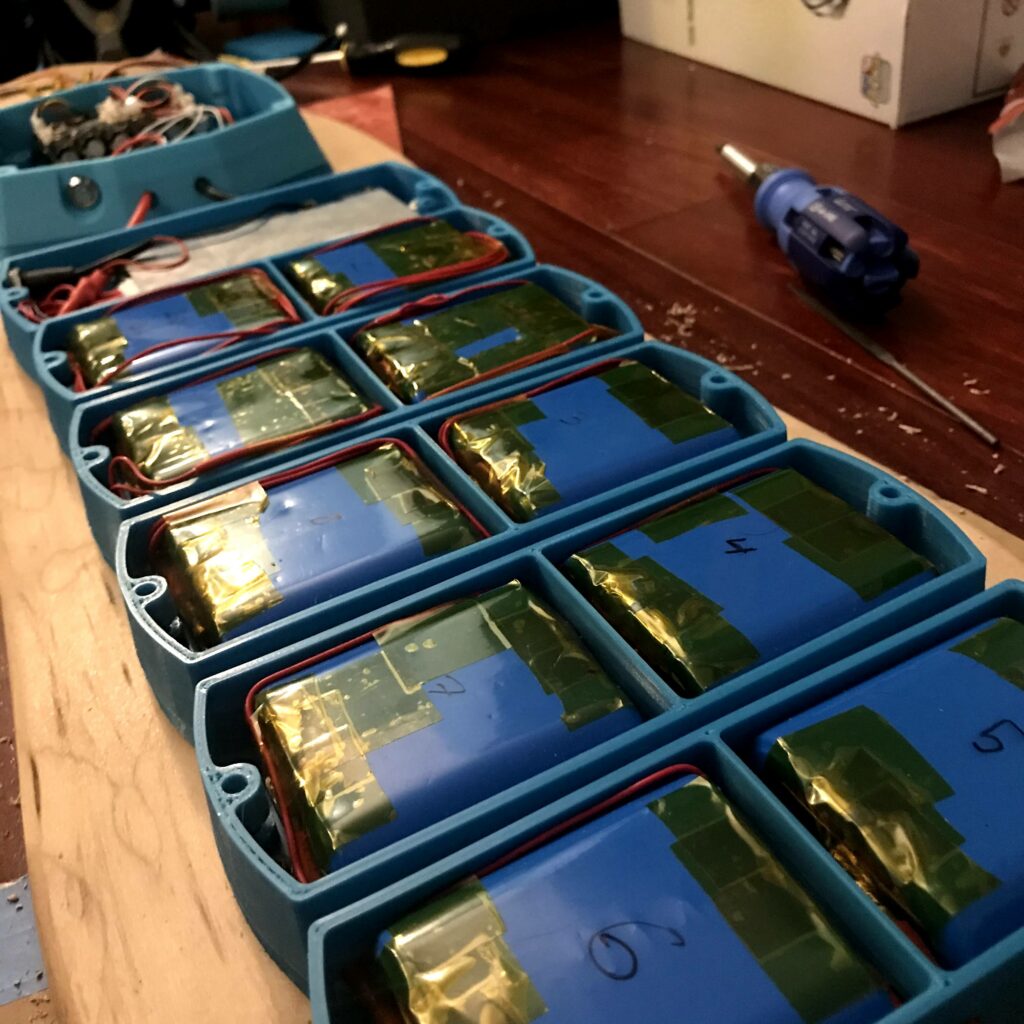
Here are the enclosures with all the batteries installed.
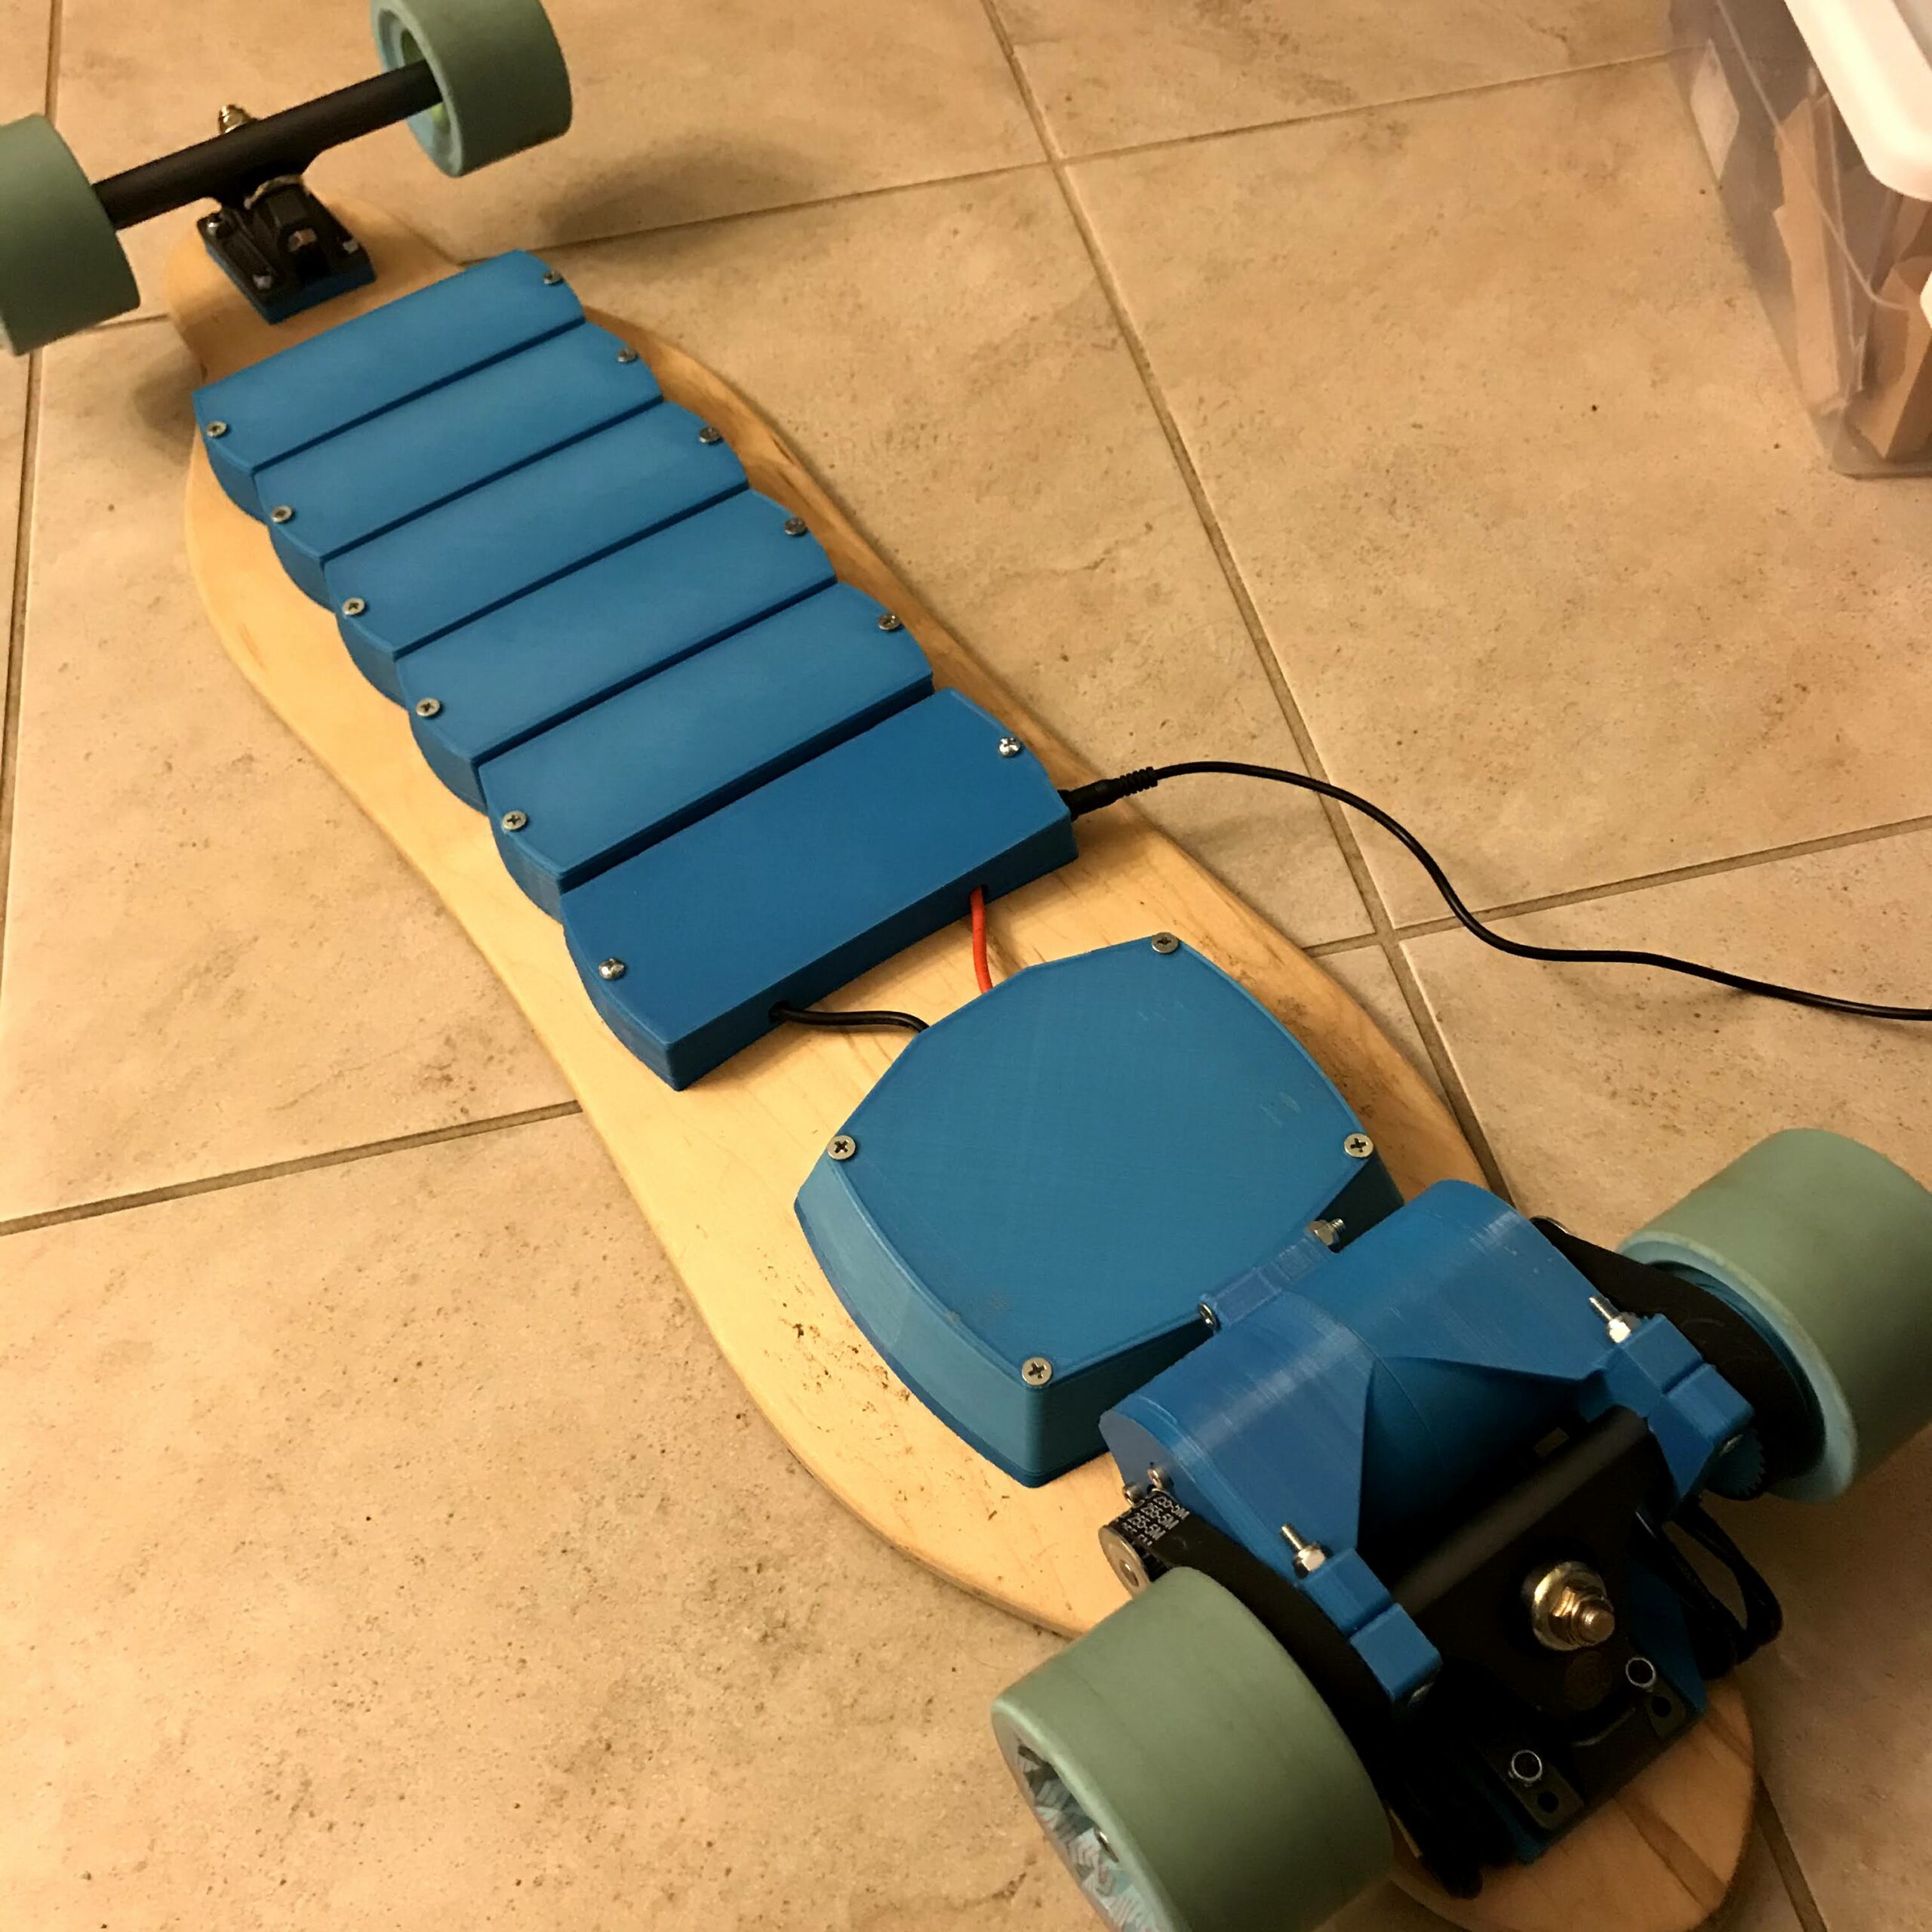
Here is the finished board with the lids to each of the boxes.

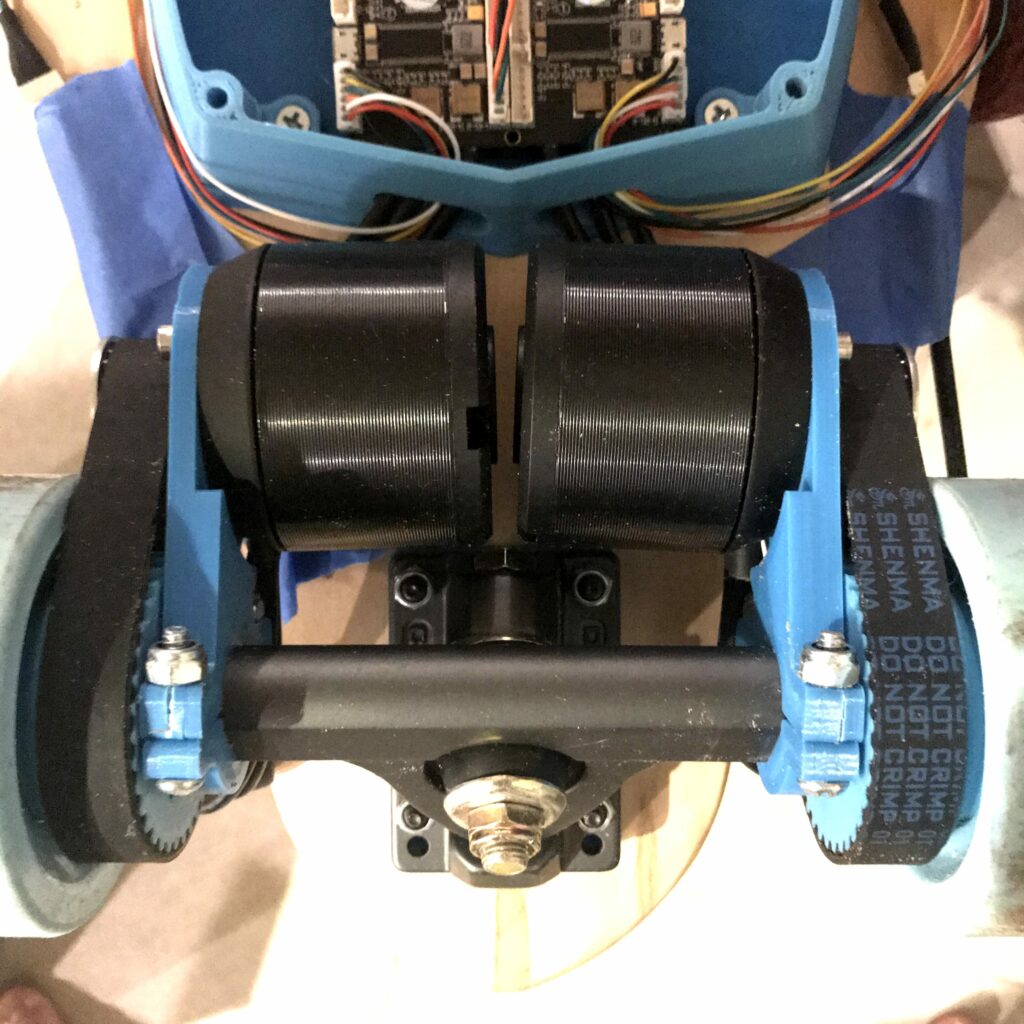
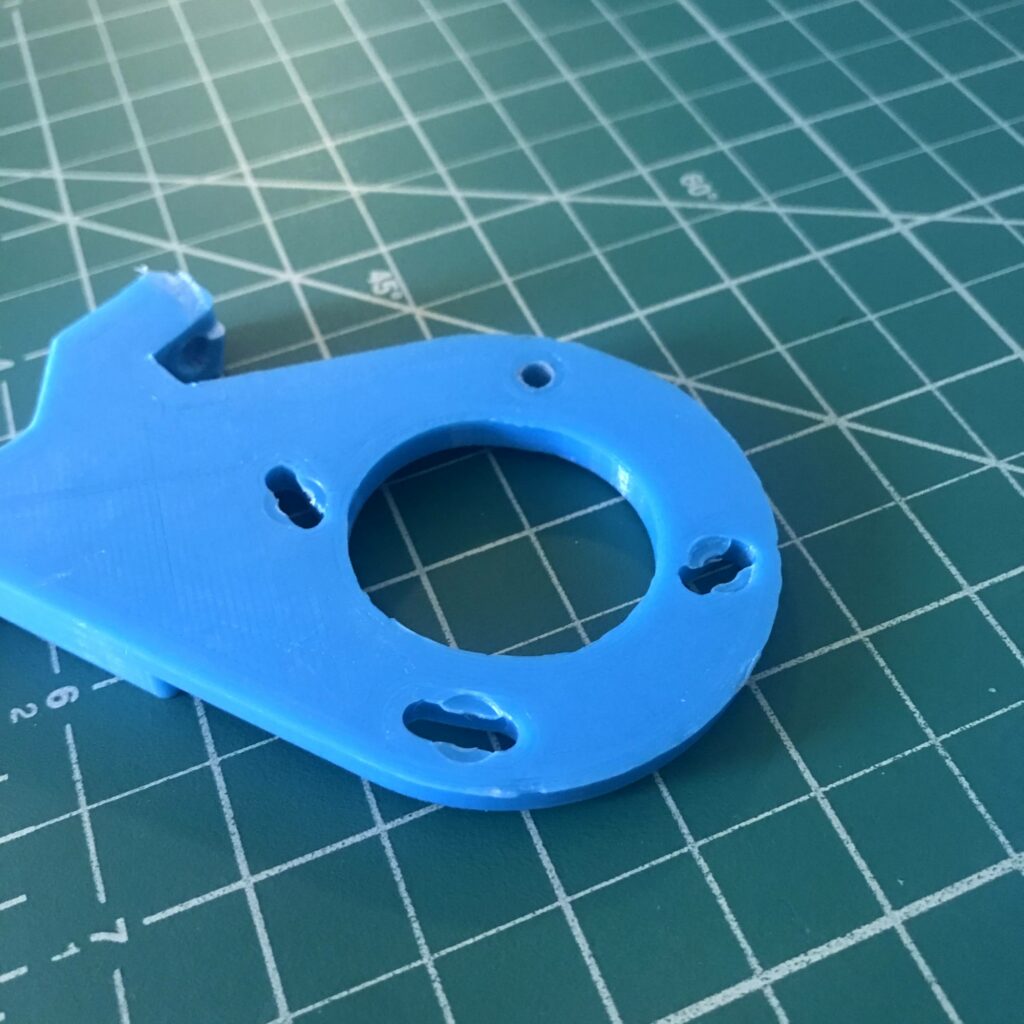
3D Printed Motor Brackets
I have learned a few things from this project. First of all, PLA will find a way to break in any high load application. Secondly, if you stop one bad thing from happening, an equal if not worse thing can result. These particular brackets were admittedly not well designed because they were intended to be metal. I may have been able to machine them on campus, but due to COVID, I decided I’d try printing them.
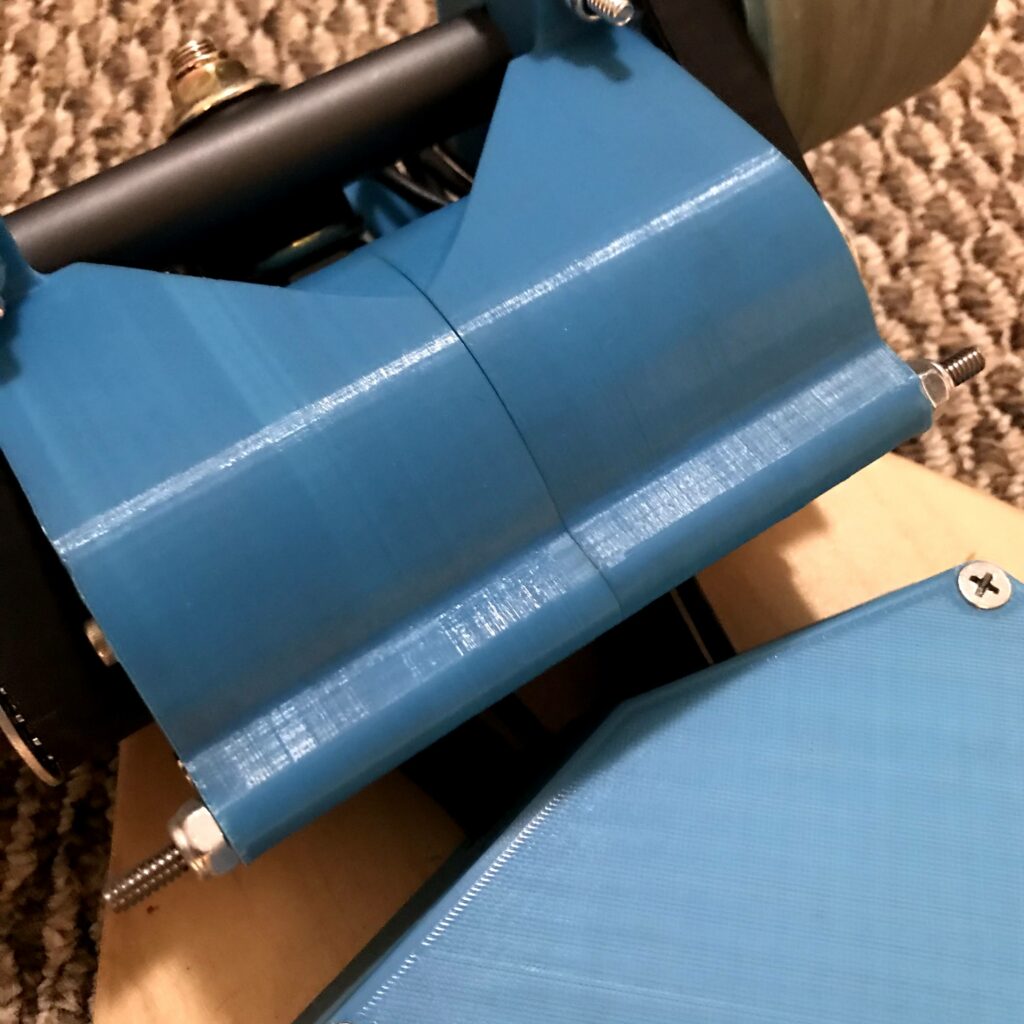
They split at the bolt hole and were too thin to resist the force from the belts. This was expected, but I was surprised at how bad it was.
Not only did they break and bend, but they also deformed. I found that when I tightened the bolts the plastic had compressed. Maybe I went too tight, but they had to be tight to hold the motor.
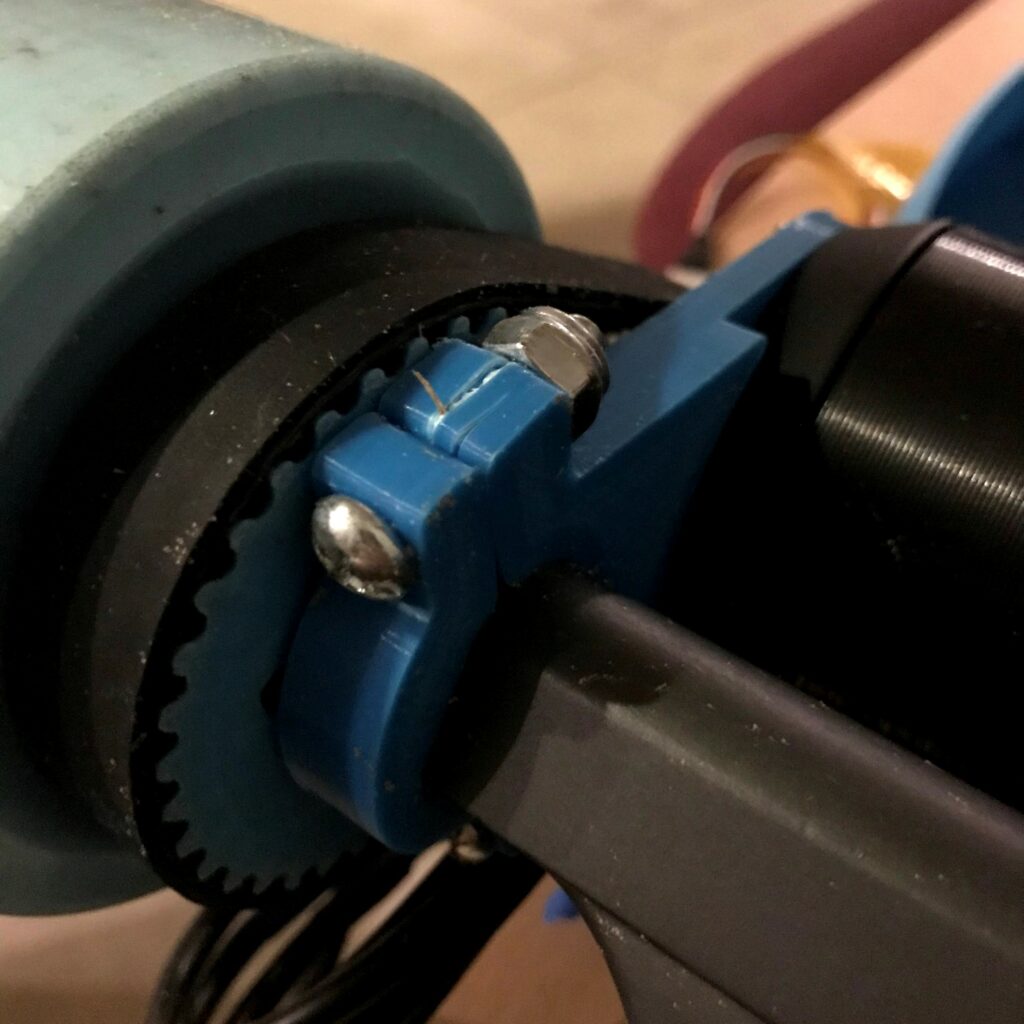
Because of this, I made a much stronger version which I had a lot of confidence in. I had never had layer separation problems before, so I wasn’t expecting them to appear… but they did. This is likely the forces from the belts pulling the layers apart. It lasted about 6 miles before the motor started rubbing against the mount.
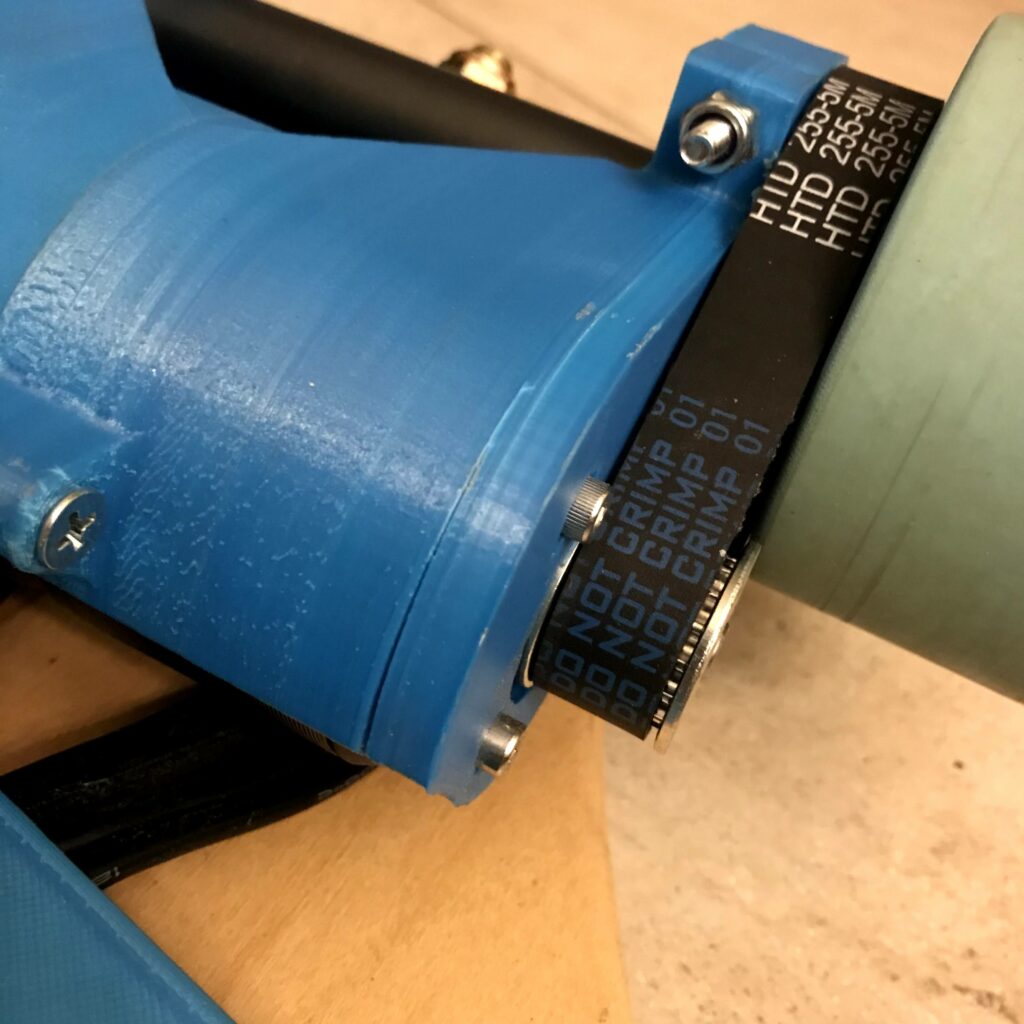
Moving the bolt to clamp onto the edges of the motor mount seems to have alleviated this problem. This configuration prevents layer separation mechanically with the bolt.
Now that I’m back at my college campus, I went on a grocery run with it. It performed spectacularly and there are no signs of damage.
Now What?
It’s basically done! I finished the battery, I finished the prints, and now I just need to waterproof it. I probably won’t make a post about this though because it’ll just be me sticking silicone seal everywhere water could get in; not a pretty sight by any means.