
Finishing the Battery Spot Welder
Finishing a project is always the hard part. I say this, but it helps if your packages arrived just a bit sooner than 2 months after you expected them to. I guess that’s what I get for cheaping out on international shipping. Live and learn I suppose. I am glad I learned this for a project that wasn’t time sensitive!
Once the components arrived I took a day to set the rest of the welder up. The hardest part was doing the crimps for the 6 AWG wire without a crimping tool. This was remedied with an unnatural combination of vise-grip pliers and a bench vise. The exact implementation is left as an exercise for the reader.
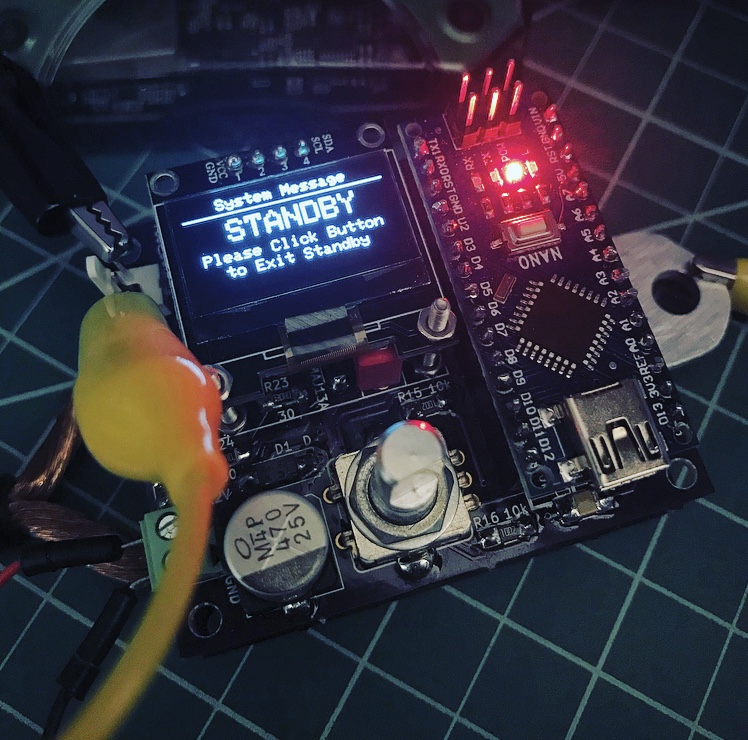
Before I did any tests I had to upload the code. This is why in the following picture it’s strung up with alligator clips:
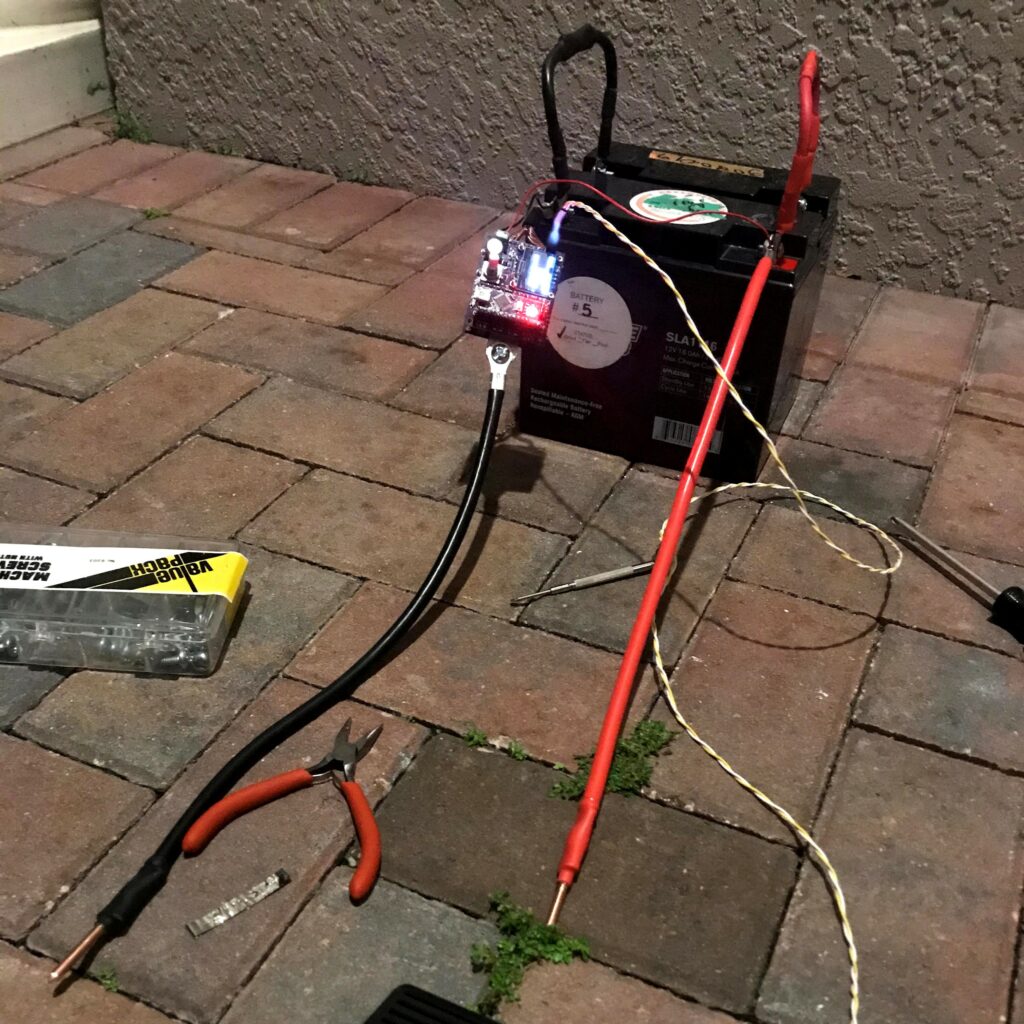
This was the final setup. The picture was taken during my first test outside:
Here is the nickel strip I tested on:
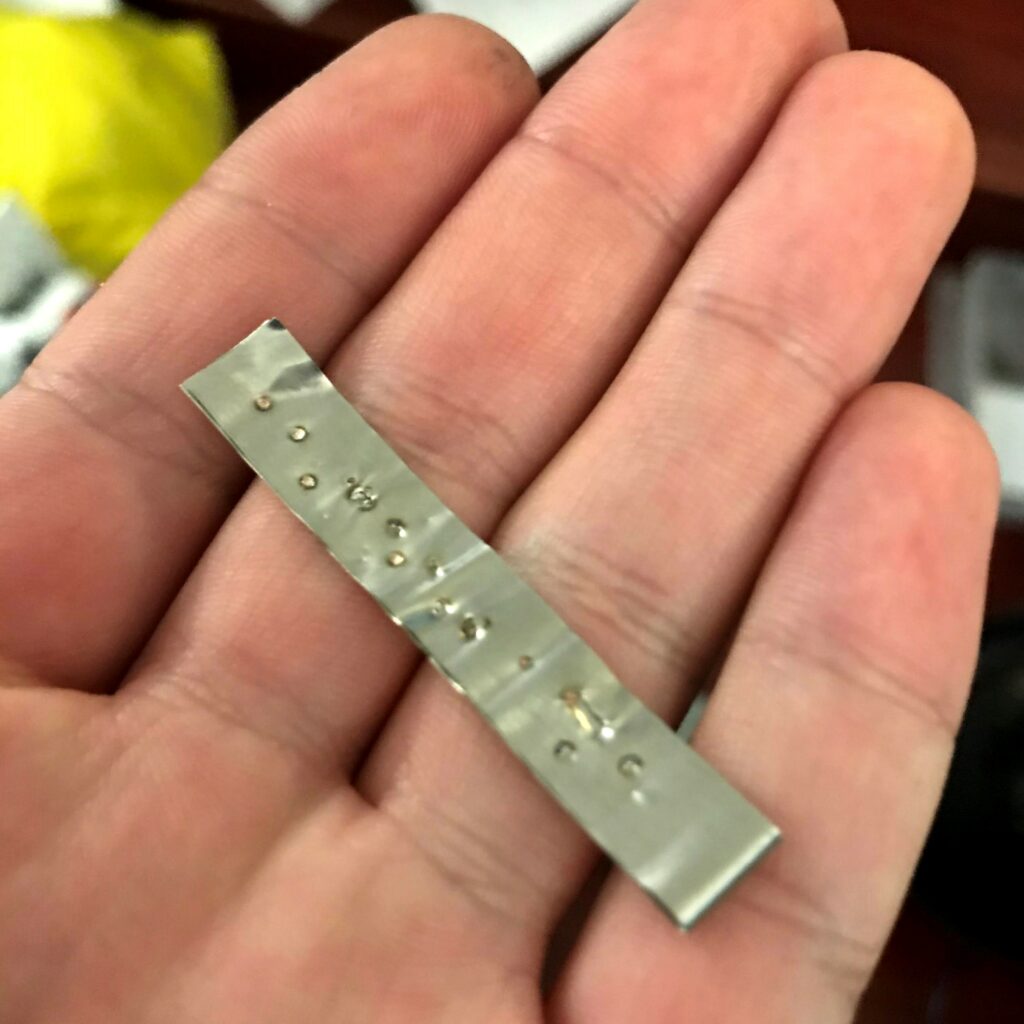
The rip in the nickel indicated it was actually fusing the two sides of the metal together, an excellent sign the that spot-welder was working. What I find more impressive is that it worked the first time! One thing I noticed though was that on low battery voltages, the welding process could brown-out the controller, turning it mostly off. This put it into an error state, but charging the batteries stops this from happening.
Tons of Welding
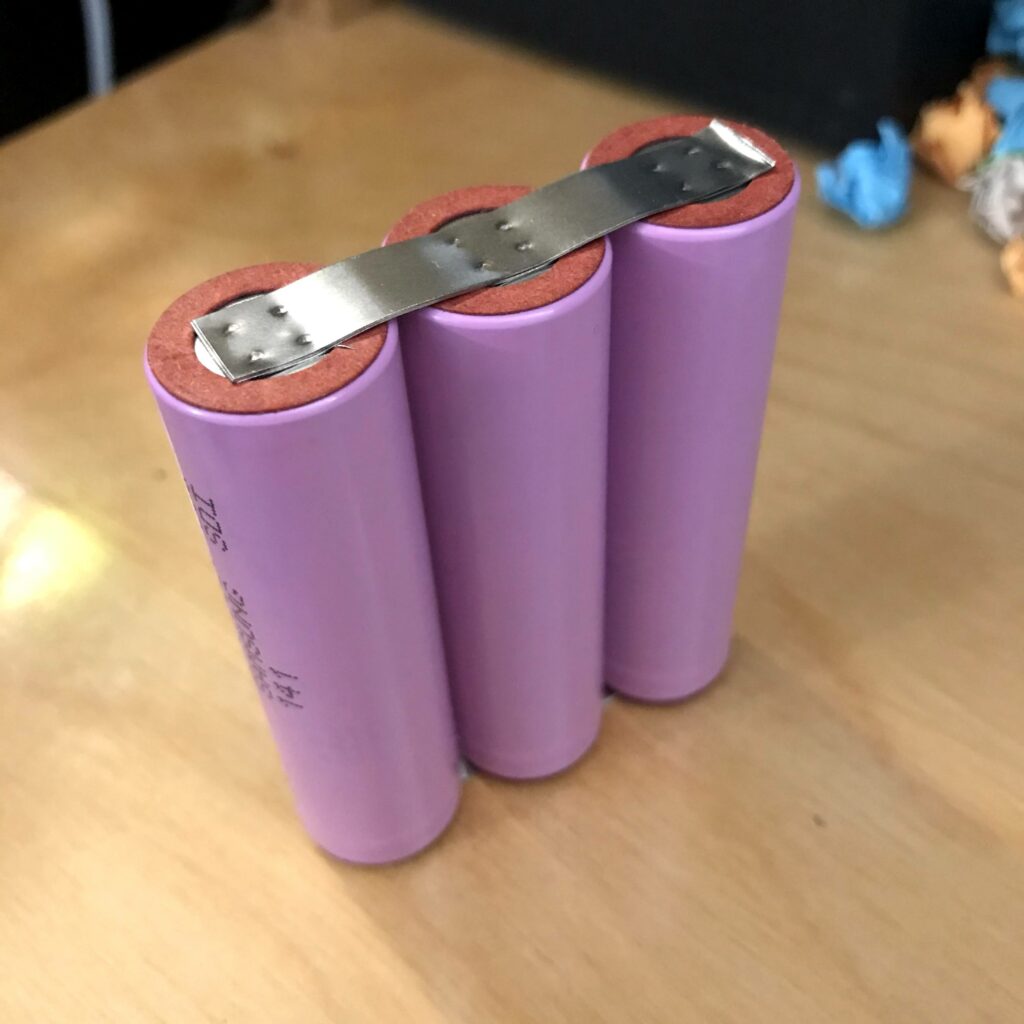
With Testing out of the way I was able to move onto more substantial things, specifically welding the Li-Ion batteries. This sounds simple enough until you realized that I needed to do 4 x 3 x 2 = 24 welds per battery. Given my pack had 3 batteries per parallel group and 10 of them in series, I had a total of 30 batteries to do this to. This leads to 720 spot welds, not including any I messed up which would require another try. As terrible as that seems, it went surprisingly fast.
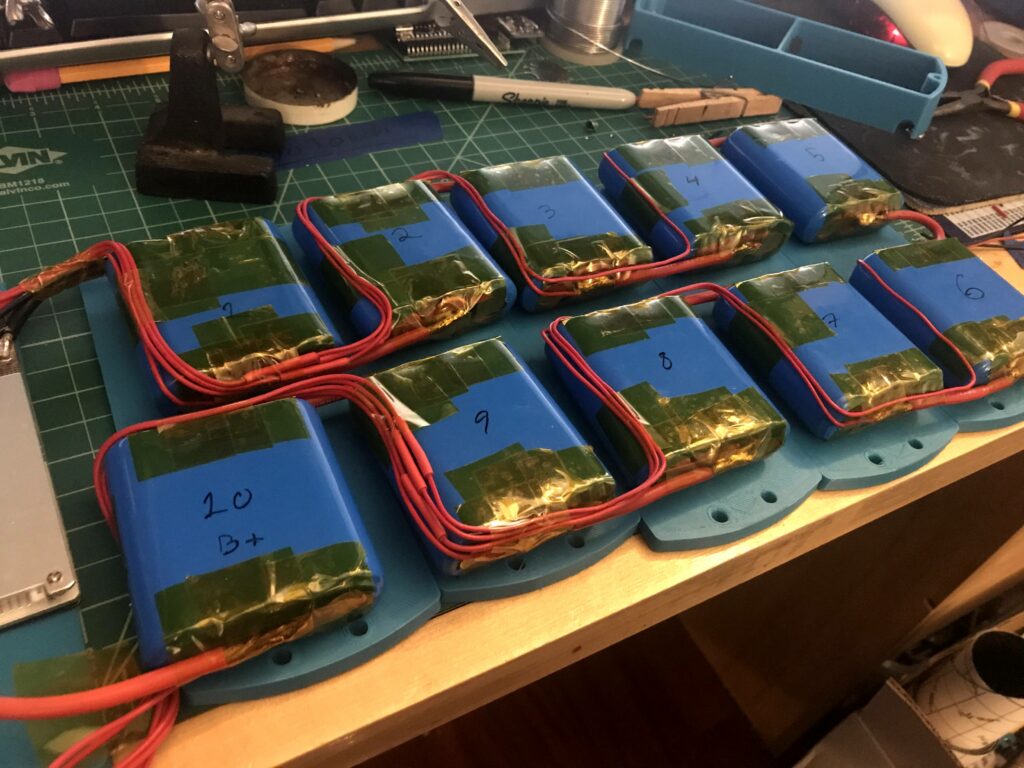
After this I had to cover each of them. I made sure to include padding and cover them in heat shrink.

After creating the individual packs, I had to connect them in series. Because a short would be very bad, I covered all bare metal with heat resistant tape to protect against shorting.
Reflection
I wont claim it is perfect, but I certainly learned a lot during this process. Moving forward I now have a way to make custom batteries for my other projects, such as Frank, the differential drive robot. Additionally, I gained a lot of skills in soldering, specifically SMD (surface mount components) and things with large heat capacity (the batteries). If I were to redo this, I would give a little extra slack between each pack. I am mildly worried about fatigue on the wires when the board bends, but it is certainly better than using nickel tabs as I’ve seen some people use. (Spot welds are notoriously bad with fatigue.)
2 Thoughts to “Welding Batteries and Finishing the Pack”